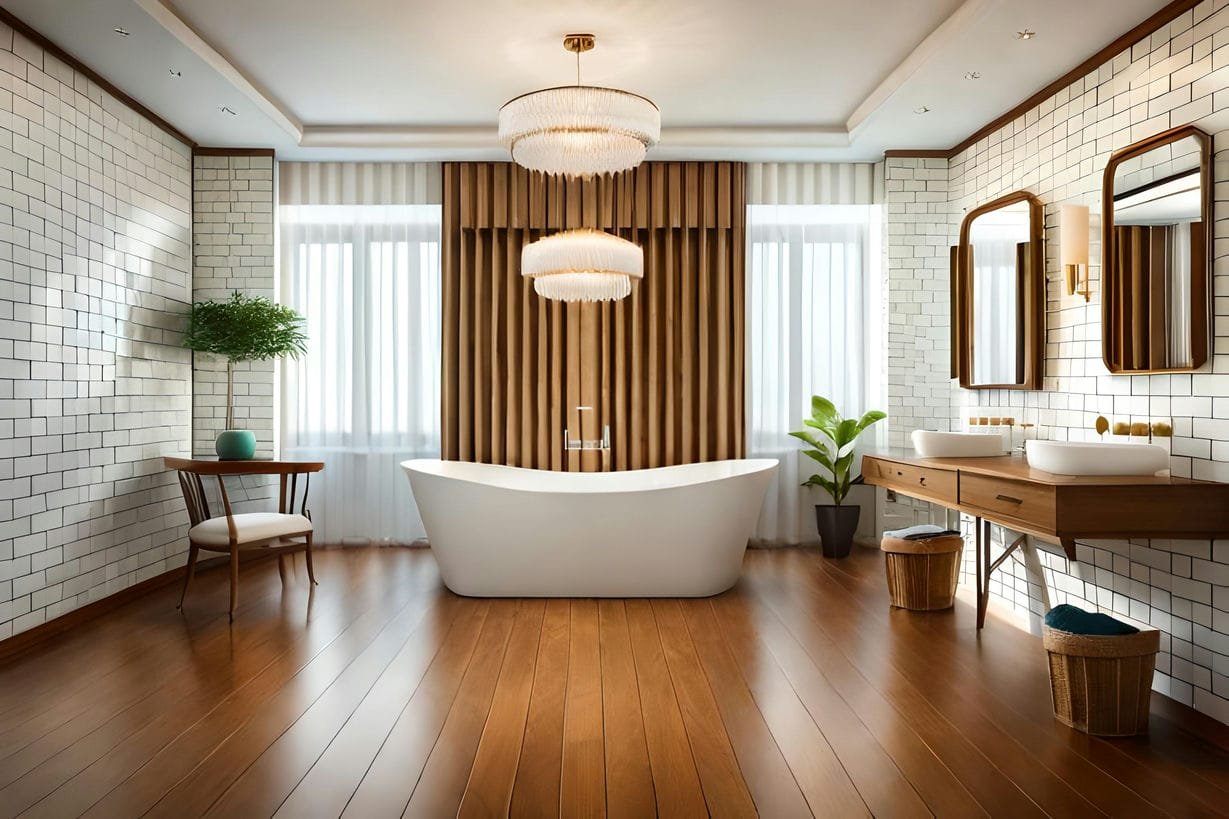
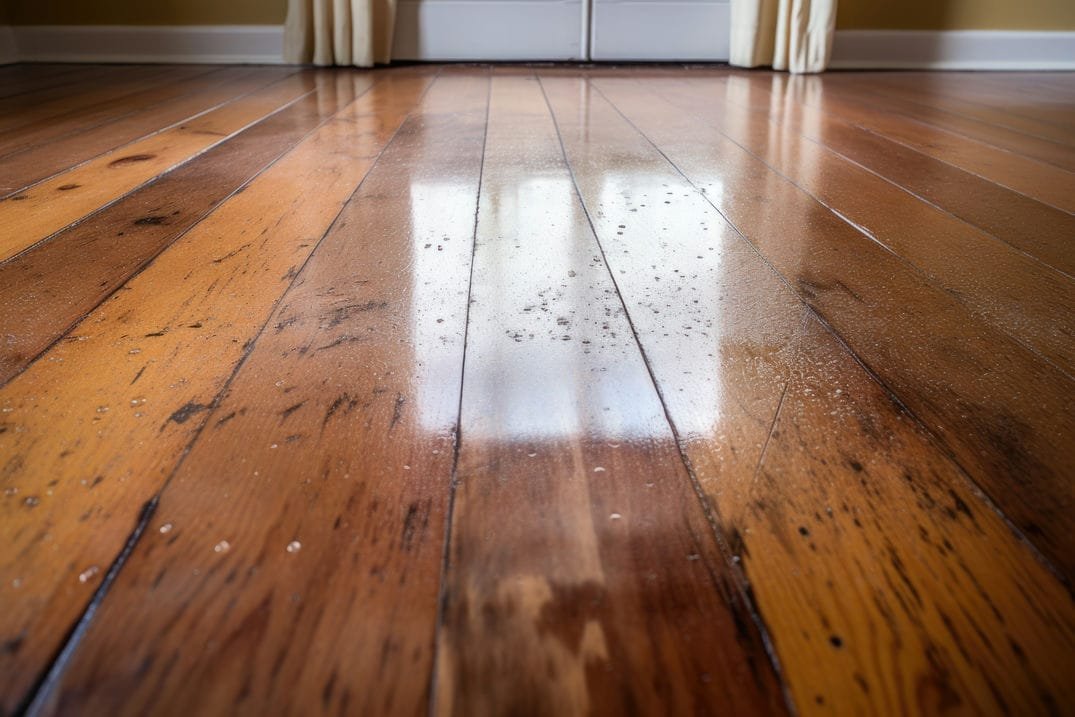
Hardwood floors are a timeless and elegant choice for any home, but over time, they can start to look worn and dull. Staining your hardwood floors can breathe new life into them, transforming the look and feel of your space. However, the process of staining hardwood floors can be daunting, especially for those who have never tackled it before.
In this guide, we’ll walk you through the step-by-step process of staining your hardwood floors, ensuring a professional-looking finish that will last for years to come.
Table of Contents
Preparing Your Hardwood Floors for Staining
The first step in the staining process is to prepare your hardwood floors. This involves removing all furniture, rugs, and other items from the room, as well as covering any vents with plastic sheeting and using painter’s tape to protect your baseboards. It’s also important to ensure you have all the necessary tools and safety equipment, such as a dust mask and gloves before you begin.
Next, it’s time to sand your hardwood floors. Start with coarse-grit sandpaper and use a belt sander to remove any old finishes or scratches. Work your way through progressively finer grits, sanding along the grain of the wood until the floor is smooth and even.
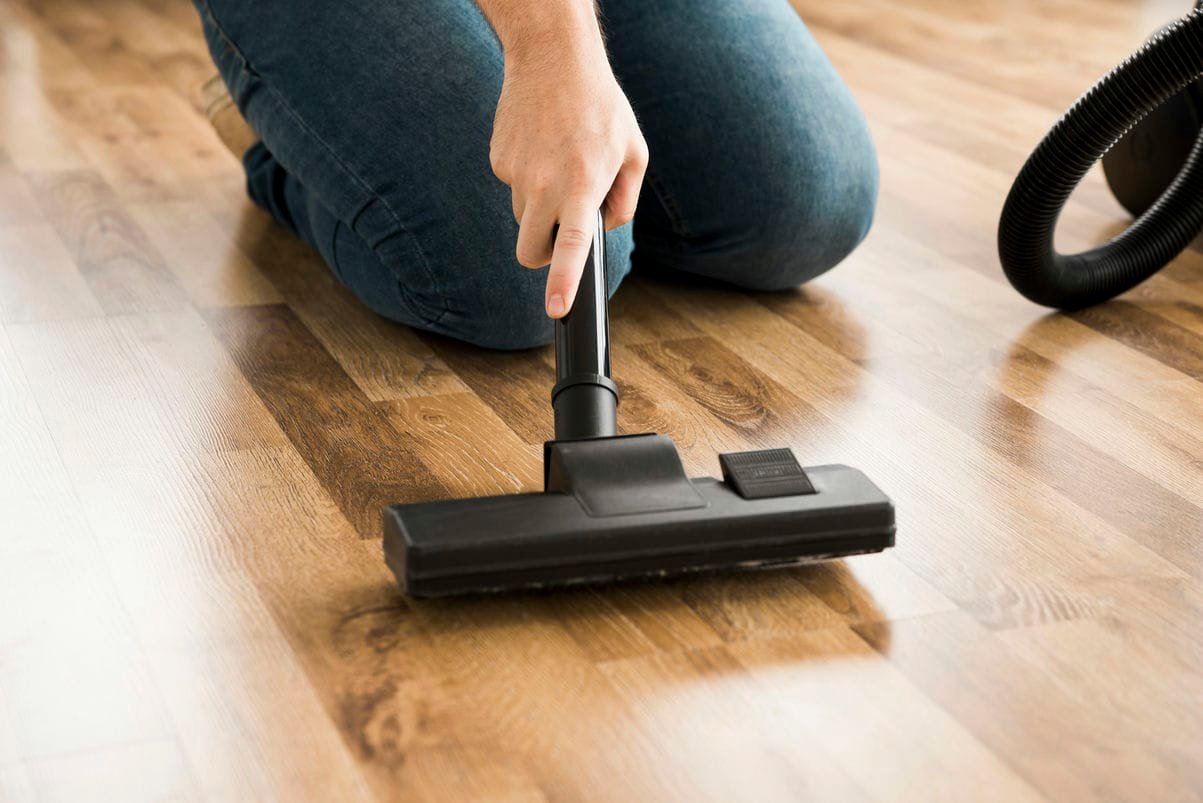
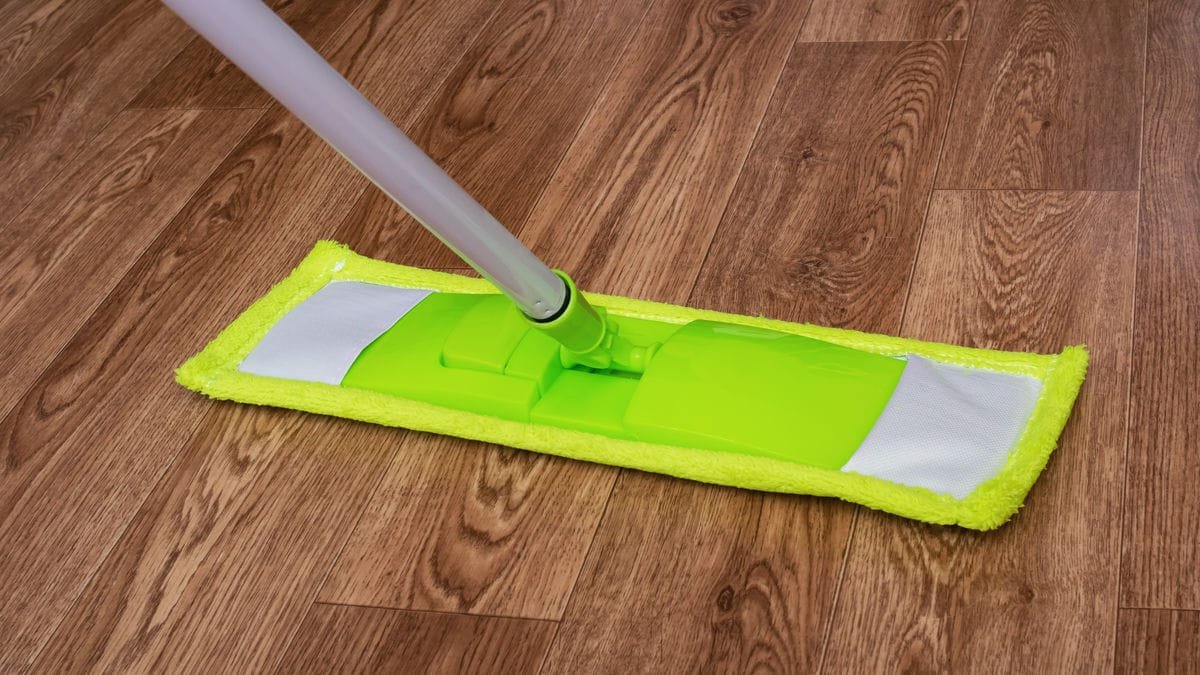
Once you’ve finished sanding, it’s time to clean the floor. Thoroughly vacuum or sweep up any dust and debris, then wipe the floor down with a damp cloth to ensure it’s clean and ready for staining.
Choosing and Applying the Stain
Now that your floors are prepped and ready, it’s time to choose the right stain. There are a variety of stain colors and finishes to choose from, so it’s important to test the stain on a hidden area or scrap wood to ensure you’re happy with the color before applying it to the entire floor.
When you’re ready to apply the stain, use a brush or clean rag to apply it along the grain of the wood. Let the stain sit for a few minutes before wiping off the excess with a rag. This will help ensure an even, consistent color throughout the floor.
Finishing Your Hardwood Floors
After the stain has had time to dry, it’s time to apply a polyurethane finish. This protective layer will help to seal and protect your floors, ensuring they look great for years to come. You can apply the finish with a brush, roller, or applicator, working with the grain of the wood.
Once the first coat of polyurethane has dried, lightly sand the floor with fine-grit sandpaper before applying a second coat. This will help to create a smooth, even finish.
Finally, allow the finish to cure for 2-3 days before moving any furniture back into the room. This will ensure that the finish is fully set and ready to withstand the wear and tear of everyday use.
Tips for Achieving a Professional-Looking Finish
Staining hardwood floors can be a complex process, but with the right preparation and attention to detail, you can achieve a professional-looking finish that will transform the look and feel of your space. Here are some additional tips to help you along the way:
- Use High-Quality Tools: Invest in high-quality tools, such as a belt sander, orbital sander, and quality brushes or applicators. This will help to ensure a smooth, even finish.
- Work in Sections: Break the floor down into manageable sections and work on one area at a time. This will help to ensure an even application and prevent any overlapping or missed spots.
- Pay Attention to Drying Times: Follow the manufacturer’s instructions carefully when it comes to drying times for both the stain and the polyurethane finish. Rushing this process can lead to uneven or subpar results.
- Ventilate the Area: Make sure to keep the room well-ventilated during the staining and finishing process, as the fumes can be strong and potentially harmful.
- Protect Surrounding Surfaces: Use painter’s tape and plastic sheeting to protect any surrounding surfaces, such as baseboards or walls, from stains or finish drips.
By following these tips and the step-by-step process outlined above, you can achieve a stunning, professional-looking finish on your hardwood floors that will last for years to come.
Frequently Asked Questions
Q: How long does it take to stain and finish hardwood floors?
A: The entire process, from preparation to final curing, can take anywhere from 3-5 days, depending on the size of the room and the number of coats of stain and finish required.
Q: Can I stain my floors myself, or should I hire a professional?
A: Staining hardwood floors can be a DIY project, but it does require some skill and attention to detail. If you’re comfortable with the process and have the necessary tools, you can certainly tackle it yourself. However, if you’re unsure or want a guaranteed professional finish, it may be worth hiring a professional floor refinishing company.
Q: How often should I stain and refinish my hardwood floors?
A: The frequency of staining and refinishing will depend on the amount of foot traffic and wear and tear your floors experience. As a general rule, you should plan to refinish your floors every 5-10 years, or sooner if you notice significant wear or discoloration.
Conclusion
Staining hardwood floors can be a transformative project that breathes new life into your home. By following the step-by-step process outlined in this guide, and incorporating the tips for achieving a professional-looking finish, you can create a beautiful, durable, and long-lasting result that you’ll be proud to show off.
Remember, the key to success is in the preparation and attention to detail. Take your time, work carefully, and enjoy the process of transforming your hardwood floors into a stunning centerpiece of your home.
MKE Bathroom Remodeling in Milwaukee offers expert renovation services, specializing in hardwood flooring, laminate flooring, and vinyl plank flooring. They provide a wide range of hardwood species, including oak, maple, cherry, walnut, bamboo, and cork, catering to various interior aesthetics and functional needs. Their team ensures efficient project completion without compromising quality, offering eco-friendly options like cork, bamboo, and recycled hardwood. With a customer-centric approach and a strong reputation, MKE Bathroom Remodeling is a reliable choice for bathroom and hardwood flooring projects in Milwaukee.