Laying hardwood flooring is a complex process that requires careful planning, attention to detail, and a good understanding of the materials and techniques involved. Whether you’re a seasoned DIY enthusiast or a professional contractor, this guide will walk you through the essential steps to ensure a successful and beautiful hardwood floor installation.
Table of Contents
Preparation is Key
Before you start laying your hardwood flooring, it’s crucial to prepare the subfloor. This involves ensuring the subfloor is clean, level, and free of any debris or obstructions. Here are some key steps to follow:
Cleanliness
Ensuring the subfloor is clean is essential to prevent any damage to the flooring or the subfloor during the installation process. Follow these steps to clean the subfloor:
- Clear the subfloor of any debris, dust, or dirt.
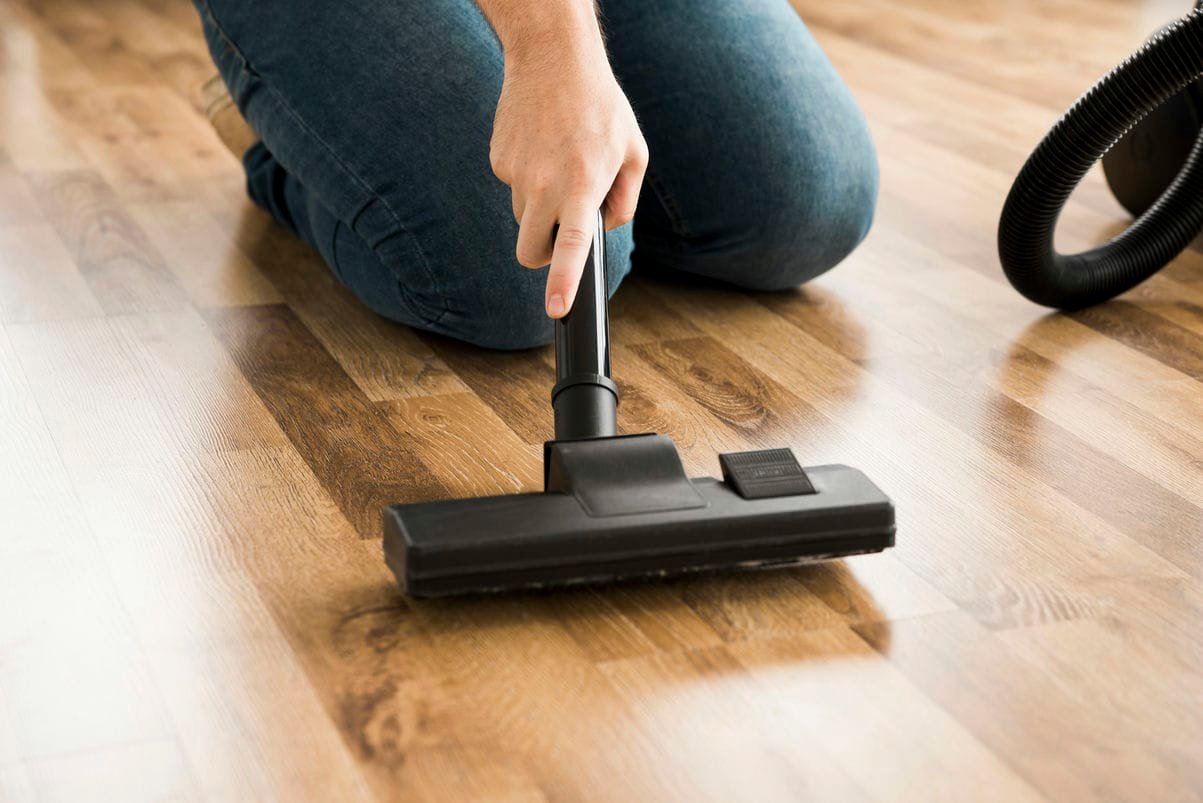
- Sweep or vacuum the subfloor to remove any loose particles.
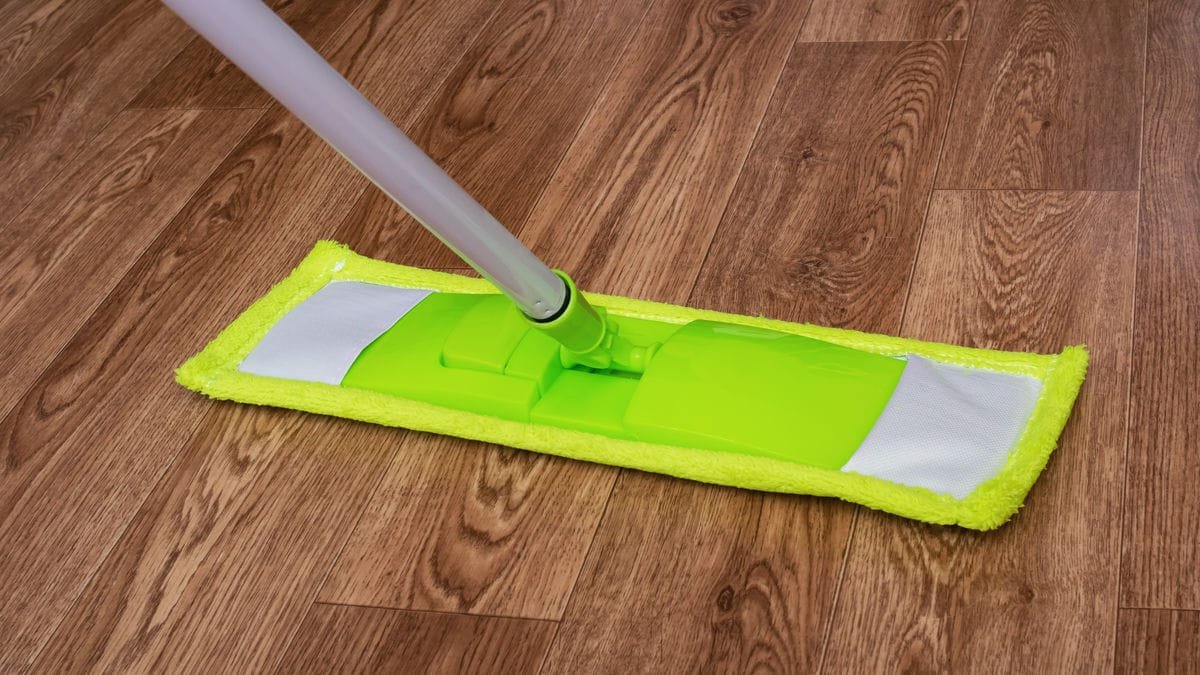
- Wipe down the subfloor with a damp cloth to remove any remaining dirt or residue.
Leveling
Uneven subfloors can affect the overall appearance and longevity of the hardwood floor. Use these steps to level the subfloor
- Check the subfloor for any unevenness or dips using a level.
- If the subfloor is uneven, use shims or underlayment to level it out.
- Ensure the subfloor is level in all directions, with no more than a 1/8-inch variation across the entire surface.
Moisture Control
Moisture can be a significant enemy of hardwood flooring, leading to issues like warping, cupping, or mold growth. Follow these steps to ensure the subfloor is dry and free of moisture:
- Check the subfloor for any signs of moisture or water damage.
- If you find any moisture issues, address them before proceeding with the installation.
- Ensure the subfloor is dry and free of any musty odors.
Acclimating the Flooring
Once the subfloor is prepared, it’s time to acclimate the hardwood flooring to the room’s temperature and humidity. This is a critical step that helps prevent issues like gapping or cupping:
Why Acclimation is Important
Hardwood flooring is sensitive to temperature and humidity changes, and if the flooring is not acclimated, it can shrink or expand excessively, leading to gaps or unevenness. Acclimation helps the flooring adjust to the room’s conditions, ensuring a more stable and even installation.
Read more: How Much Does it Cost to Refinish Hardwood Floors
How to Acclimate
To acclimate the hardwood flooring, follow these steps:
- Place the hardwood flooring in the room where it will be installed, away from direct sunlight and heat sources.
- Allow the flooring to acclimate for several days, depending on the manufacturer’s instructions.
- Monitor the flooring for any signs of warping or cupping during the acclimation process.
- Ensure the flooring has reached the appropriate moisture content level before proceeding with the installation.
Laying the First Row
The first row of flooring sets the tone for the entire installation. Here’s how to lay it correctly:
Marking the Expansion Gap
Creating a consistent expansion gap along the walls is essential for allowing the flooring to expand and contract with temperature and humidity changes. Follow these steps to mark the expansion gap:
- Use a chalk line or spacers to mark a 1/2-inch expansion gap along the walls.
- Ensure the gap is consistent along the entire length of the wall.
- This expansion gap will be covered by baseboards or trim later in the installation process.
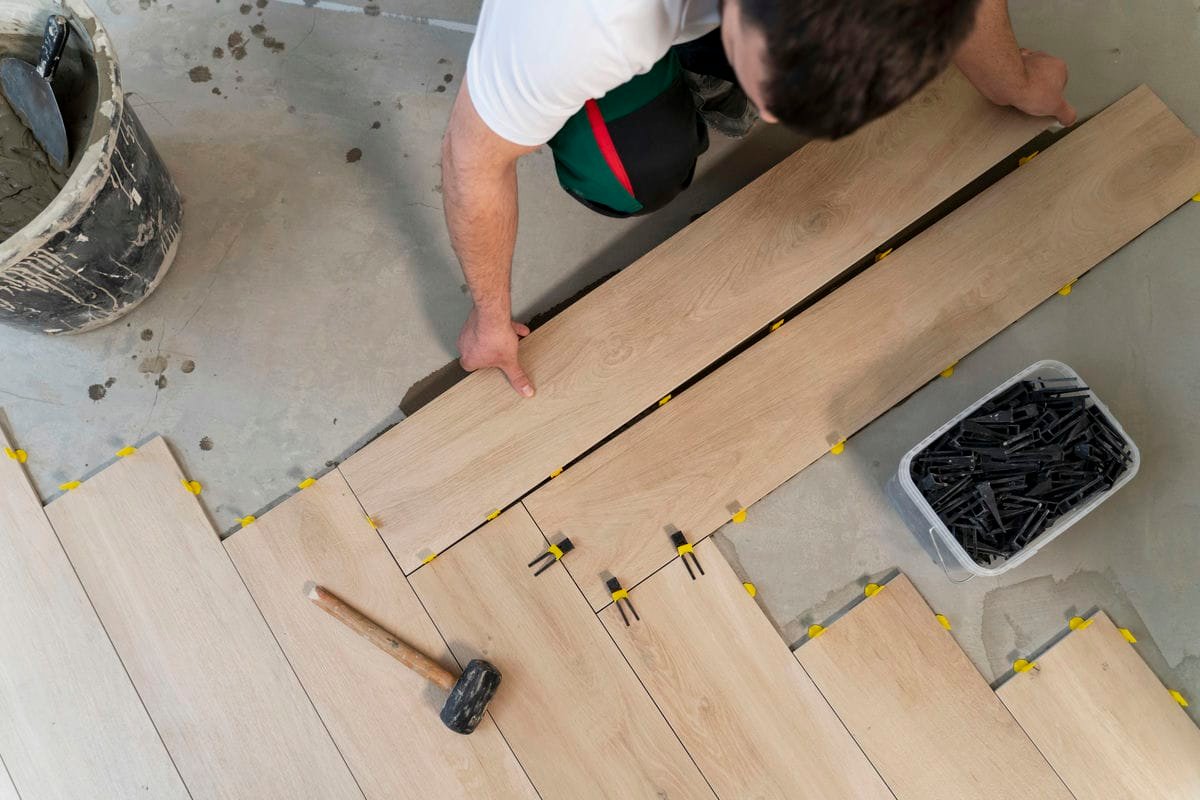
Laying the First Board
Starting the installation with the first board is a critical step. Follow these guidelines:
- Start by laying the first board along the longest wall in the room.
- Use a chalk line to mark the location of the first board.
- Apply flooring adhesive to the tongue-and-groove joints, if required by the manufacturer.
- Tap the board into place using a rubber mallet, ensuring it’s securely fastened to the subfloor.
Installing Subsequent Rows
Once the first row is laid, you can start installing subsequent rows. Here’s how to do it:
Applying Adhesive
If the manufacturer requires the use of flooring adhesive, follow these steps:
- Apply the adhesive to the tongue-and-groove joints of each board.
- Use a notched trowel to spread the adhesive evenly.
- Ensure the adhesive coverage is consistent across the entire surface of the boards.
Laying the Boards
Laying the subsequent rows of boards requires careful attention to alignment and staggering. Follow these guidelines:
- Start by laying the next board along the wall, ensuring it’s aligned with the first row.
- Tap the board into place using a rubber mallet, ensuring it’s securely fastened to the subfloor.
- Continue laying boards, staggering the end joints by at least 6 inches between rows.
- Maintain the 1/2-inch expansion gap along the walls.
Read more: How Much Does it Cost to Refinish Hardwood Floors?
Cutting the Final Row
The final row of flooring requires special attention to ensure a professional-looking finish:
Measuring the Remaining Space
Accurately measuring the remaining space along the wall is crucial for cutting the final row of boards to the right size. Follow these steps:
- Measure the remaining space along the wall.
- Subtract 3/4-inch from the measurement to account for the expansion gap.
- Use this measurement to cut the final row of boards to width using a table saw or circular saw.
Installing the Final Row
Once the final row of boards is cut, follow these steps to install them:
- Apply flooring adhesive to the tongue-and-groove joints, if required by the manufacturer.
- Tap the final row of boards into place using a rubber mallet, ensuring they’re securely fastened to the subfloor.
- Ensure the final row maintains the 1/2-inch expansion gap along the wall.
Finishing Touches
After the flooring is installed, it’s time to add the finishing touches to complete the project:
Transitions and Trim
To create a polished and professional look, you’ll need to add the appropriate transitions and trim. Follow these steps:
- Install any necessary transition strips, thresholds, and baseboards or shoe molding to cover the expansion gaps.
- Ensure the transitions and trim are securely fastened to the flooring and the walls.
- Choose trim and transitions that complement the color and style of the hardwood flooring.
Finishing the Edges
The final step is to ensure the edges of the flooring are smooth and finished. Follow these steps:
- Use a router or sandpaper to finish the edges of the flooring, if necessary.
- Apply a finish to the flooring, if desired, to protect the wood and enhance its appearance.
- Allow the finish to dry completely before moving furniture or walking on the floor.
Conclusion
Laying hardwood flooring is a complex process that requires careful planning, attention to detail, and a good understanding of the materials and techniques involved. By following these steps, you can ensure a beautiful and durable hardwood floor that will last for years to come. Remember to always follow the manufacturer’s instructions and take your time to ensure a professional-looking installation.
MKE Bathroom Remodeling in Milwaukee offers expert hardwood flooring services, specializing in a variety of hardwood species like oak, maple, cherry, walnut, bamboo, and cork. They provide eco-friendly options, free consultations, warranties, and a comprehensive design-build approach for transforming bathrooms with functional and beautiful hardwood floors.
Frequently Asked Questions
How long does it take to install hardwood flooring?
The time it takes to install hardwood flooring can vary depending on the size of the room, the complexity of the installation, and the experience level of the installer. On average, a DIY hardwood floor installation can take between 1-3 days for a single room.
Can I install hardwood flooring over existing flooring?
In some cases, you may be able to install hardwood flooring over an existing floor, such as a concrete slab or a well-secured laminate or vinyl floor. However, it’s essential to consult with the hardwood flooring manufacturer and ensure the existing floor meets the necessary requirements for a successful installation.
Do I need to use a moisture barrier?
The need for a moisture barrier depends on the type of subfloor and the local climate conditions. If you’re installing hardwood over a concrete slab or in a high-moisture environment, using a moisture barrier is generally recommended to prevent potential issues like cupping or warping.
How do I maintain my hardwood floor?
Proper maintenance is key to preserving the beauty and longevity of your hardwood floor. Regular cleaning with a recommended hardwood floor cleaner, along with the occasional application of a wood floor polish or sealant, can help keep your floor looking its best.
Can I install hardwood flooring myself?
Yes, with the right tools, techniques, and a bit of patience, it is possible for a DIY enthusiast to install hardwood flooring. However, it’s important to carefully follow the manufacturer’s instructions and be prepared to invest the time and effort required for a successful installation.


