Hardwood floors are a timeless and elegant choice for any home, but over time, they can become worn, scratched, and dull. Sanding your hardwood floors is an effective way to restore their natural beauty and luster. However, the process requires careful planning, preparation, and execution to achieve a smooth, even finish.
In this guide, we’ll walk you through the step-by-step process of sanding your hardwood floors, along with essential tips and considerations to ensure a successful outcome.
Table of Contents
Preparation: Setting the Stage for Success
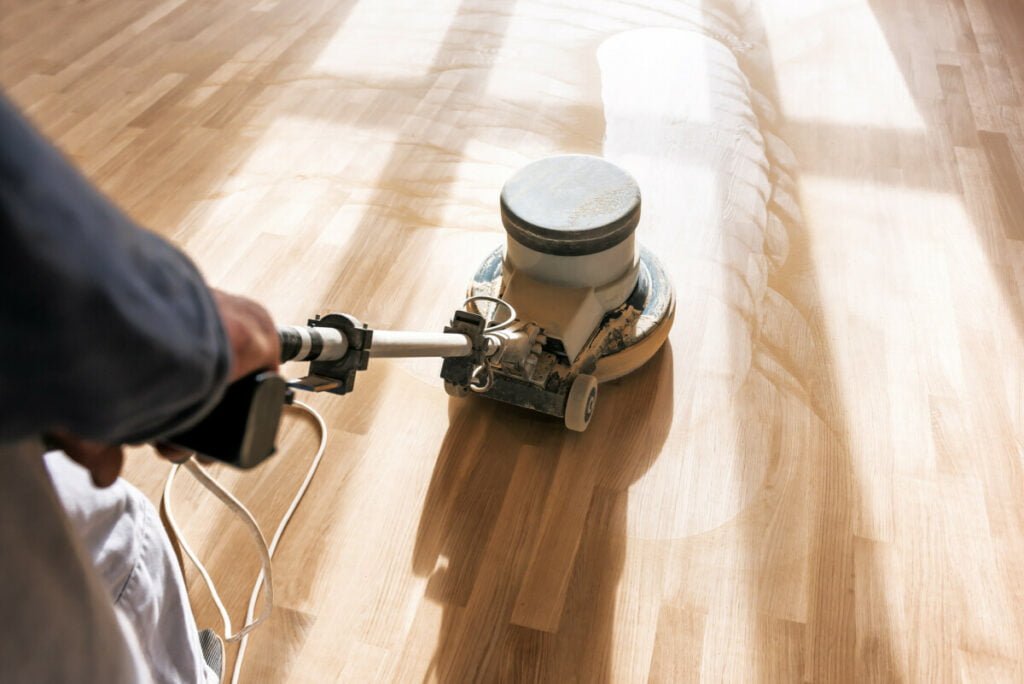
Before you begin the sanding process, it’s crucial to properly prepare your workspace. Start by gathering the necessary tools and protective gear. This includes a drum sander (or belt sander), an edge sander, a floor buffer or sand-screener, a variety of sandpaper grits (ranging from 36-grit to 120-grit), a dust mask, safety goggles, and ear protection.
Next, clear the room of all furniture, carpets, and rugs, and remove the baseboards using a pry bar. Cover electrical outlets and vents with painter’s tape to prevent dust from entering these areas. If you notice any protruding nails, hammer them down or replace them. For deep scratches or damage, use wood filler to fill holes and scars, allowing enough time for the filler to dry before sanding.
The Sanding Process: Achieving a Smooth Finish
The sanding process involves several steps, each with its own purpose and technique. Let’s dive into the details:
- Start with a Coarse Grit: Begin by using a coarse-grit sandpaper, such as 36-grit or 40-grit, and a drum sander (or belt sander) to sand the entire floor. Work in sections of about 200 to 250 square feet per belt of sandpaper, making three-to-four-foot strokes along the floor and following the wood grain. Overlap your passes to ensure even coverage.
- Edge Sanding: Use an edge sander or orbital sander to sand the edges and corners of the room, working with 40-grit sandpaper. This step is crucial to ensure a seamless transition between the main floor and the edges.
- Progressing to Finer Grits: After the initial coarse sanding, continue the process with progressively finer grits of sandpaper, such as 60-grit, 80-grit, and 120-grit. Use the same sanding technique as before, working in sections and overlapping your passes to achieve a smooth, even finish.
- Final Pass: For the final step, use a floor buffer or sand-screener with 120-grit sandpaper to eliminate any remaining minor unevenness and achieve a polished, professional-looking result.
Throughout the sanding process, it’s essential to sand with the grain of the wood to avoid creating unsightly scratches. If your floor is severely uneven, you may need to start by sanding diagonally to even it out before sanding in the direction of the boards.
Read more: Removing Scratches from Hardwood Floors: Simple Guide
Cleaning and Finishing: The Final Touches
After the sanding process is complete, it’s time to clean up and apply the finishing touches. Use a vacuum cleaner to remove any remaining sawdust, and consider wiping the floor with white spirits (mineral spirits in the US) to remove any fine dust particles.
Once the floor is clean and dry, you can apply a finish or stain to protect and enhance the wood. The choice of finish will depend on your personal preference and the desired look. Some popular options include:
| Finish Type | Description |
|---|---|
| Polyurethane | Provides a durable, high-gloss finish that is resistant to scratches and wear. |
| Oil-Based Polyurethane | Offers a warm, amber tone and a slightly more natural look than water-based polyurethane. |
| Water-Based Polyurethane | Dries quickly and provides a clear, matte or satin finish. |
| Stain | Allows you to change the color of the wood, from light to dark, to suit your desired aesthetic. |
| Natural Oils | Such as tung oil or linseed oil, provide a low-sheen, natural finish that enhances the wood’s grain. |
Tips and Considerations
As you embark on your hardwood floor sanding project, keep the following tips and considerations in mind:
- Consistency is Key: Use the same grade of sandpaper on both the drum sander and edge sander to maintain a consistent finish throughout the floor.
- Engineered Wood Floors: If you have engineered wood floors, it’s generally recommended to hire a professional to handle the sanding process, as their layered construction and thinner wear layer require specialized expertise.
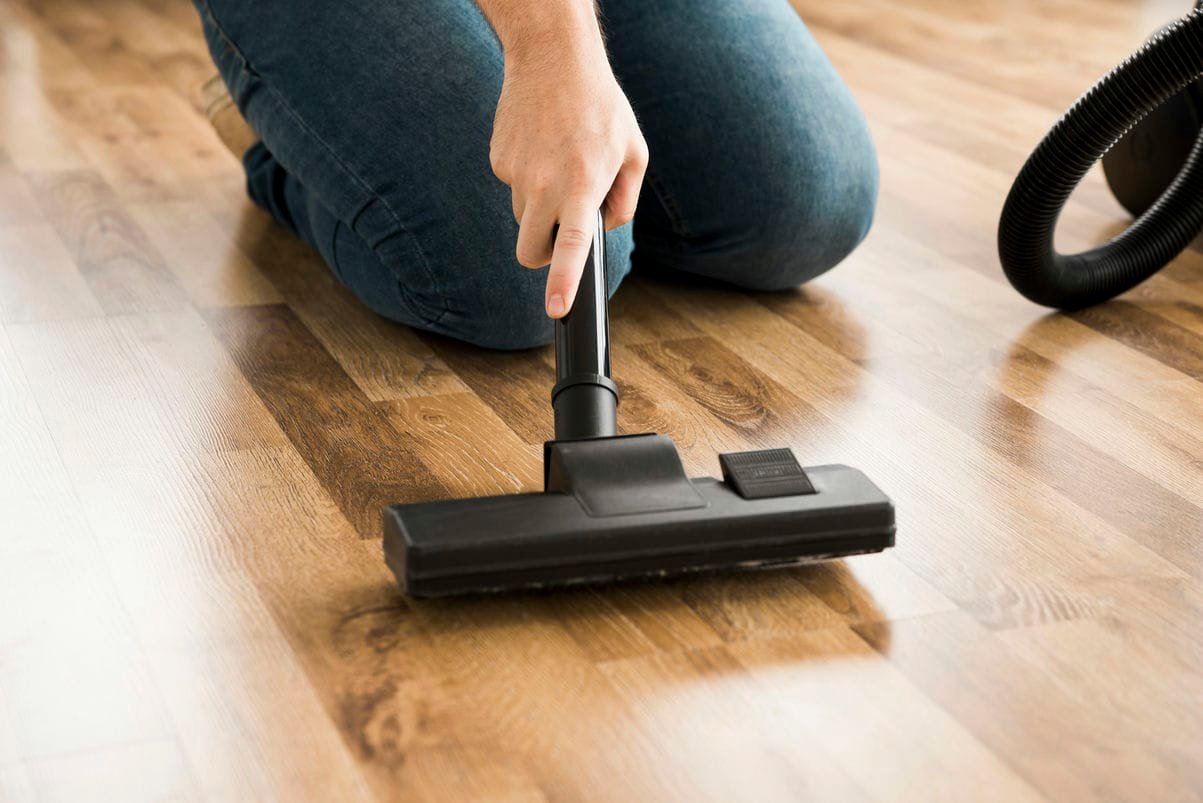
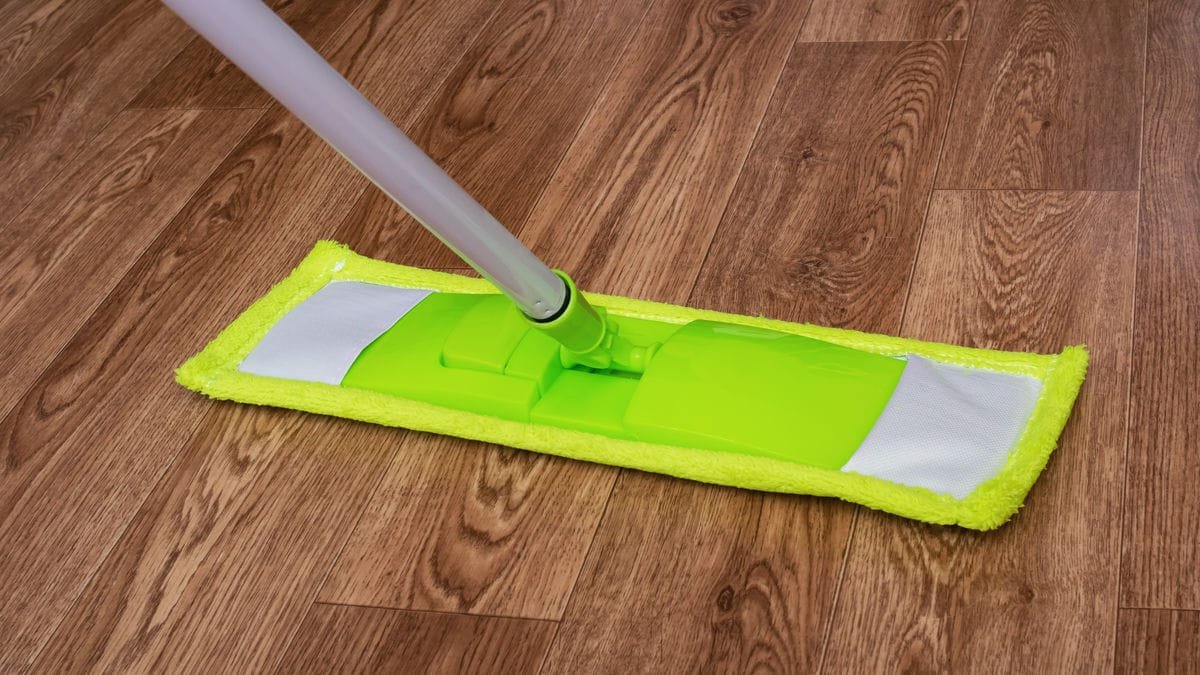
- Ongoing Maintenance: Regular sweeping and mopping of your hardwood floors can help prolong their lifespan and maintain their beautiful appearance.
- Safety First: Always prioritize your safety by wearing the appropriate protective gear, such as a dust mask, safety goggles, and ear protection, to avoid any health hazards during the sanding process.
- Patience and Attention to Detail: Sanding hardwood floors can be a time-consuming and labor-intensive task, but taking the time to do it right will ensure a stunning, long-lasting result.
Conclusion
Sanding hardwood floors is a rewarding project that can breathe new life into your home’s interior. By following this comprehensive guide and adhering to the best practices, you can achieve a smooth, even finish that enhances the natural beauty of your wood floors. Remember to take the necessary precautions, work methodically, and enjoy the satisfaction of transforming your space. With the right tools, techniques, and attention to detail, you can create a stunning hardwood floor that will be the envy of your neighbors.
MKE Bathroom Remodeling offers expert hardwood flooring installation and refinishing services in Milwaukee, WI. They provide a wide range of hardwood species, including domestic and exotic varieties, and can help you select the ideal option that complements your interior design. Their team of professionals ensures a seamless and high-quality hardwood flooring project.