
Hardwood floors are a timeless and elegant choice for any home, but over time they can become worn, scratched, or discolored. Refinishing your hardwood floors can breathe new life into them, restoring their natural beauty and increasing the value of your property. Whether you’re a seasoned DIYer or a first-time home renovator, this guide will walk you through the process of refinishing your hardwood floors from start to finish.
Table of Contents
Preparing the Room
The first step in refinishing your hardwood floors is to prepare the room. Begin by removing all furniture, rugs, and other items from the space. This will give you full access to the floor and ensure that the sanding and finishing process is as efficient as possible. Next, use a pry bar to carefully remove any baseboards or quarter-round trim, as this will allow the sander to reach the edges of the floor.
Once the room is cleared, it’s time to cover any air vents or other openings to prevent dust from circulating throughout your home. You can use painter’s tape or plastic sheeting to create a barrier and keep the dust contained.
Sanding the Floors
With the room prepped, it’s time to start sanding the floors. Begin with a coarse 36-40 grit sandpaper on a walk-behind orbital sander, working in the direction of the wood grain. This initial pass will remove the top layer of the existing finish, revealing the underlying wood.
After the first pass, switch to a drum sander to tackle any deeper scratches or stains. When using the drum sander, be sure to work in the direction of the grain and overlap each pass to ensure an even finish. Don’t forget to sand the edges and corners of the room using a hand sander and 180-grit sandpaper.
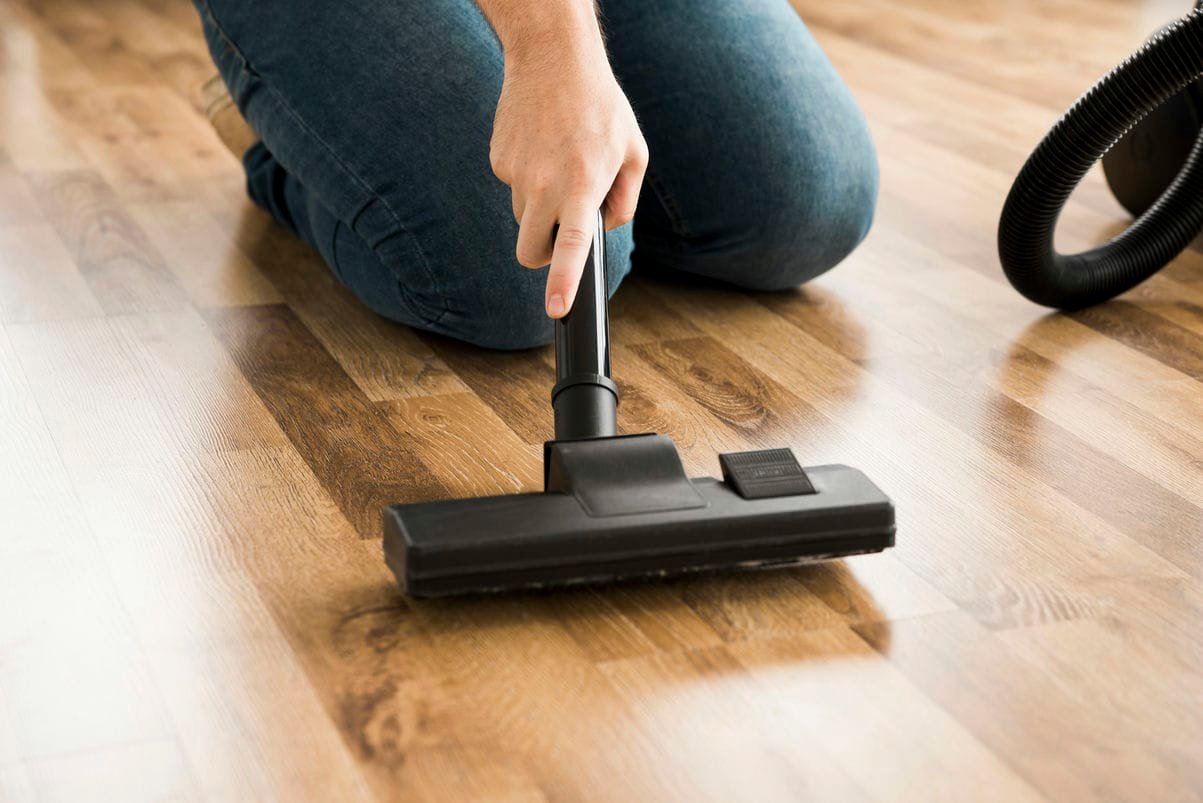
Once you’ve completed the sanding process, thoroughly vacuum and tack cloth the floor to remove any remaining dust. This step is crucial, as any leftover debris can interfere with the application of the new finish.
Read more: How to Clean Hardwood Floors in Milwaukee, WI
Applying the New Finish
With the floor prepped and ready, it’s time to apply the new finish. There are several options to choose from, including polyurethane and oil-based wood finishes. Polyurethane is a popular choice for its durability and easy maintenance, while oil-based finishes can provide a warm, natural look.
Regardless of the finish you choose, be sure to apply it in thin, even coats, allowing the proper drying time between each application. Use a brush to apply the finish along the edges and a floor applicator pad for the main areas of the floor.
Here’s a table outlining the typical number of coats and drying times for different types of wood finishes:
| Finish Type | Number of Coats | Drying Time Between Coats |
|---|---|---|
| Polyurethane | 2-3 | 24-48 hours |
| Oil-Based | 2-3 | 12-24 hours |
| Water-Based | 3-4 | 2-4 hours |
It’s important to note that the exact number of coats and drying times may vary depending on the manufacturer’s instructions, the condition of your floors, and the desired level of protection.
Costs and Considerations
Refinishing hardwood floors can be a significant investment, both in terms of time and money. The total cost for DIY refinishing typically ranges from $1,000 to $2,400 for a 275-square-foot area, including the cost of renting equipment and purchasing materials.
If you’re not comfortable tackling the project yourself, you can hire professional floor refinishers. While this option will cost more, it can save you time and effort, and ensure that the job is done to the highest standard.
When considering the cost of refinishing your floors, be sure to factor in the following:
- Sanding equipment rental (orbital sander, drum sander, edger)
- Sandpaper (36-40 grit, 80-100 grit, 180 grit)
- Wood finish (polyurethane, oil-based, or water-based)
- Applicator tools (brushes, floor applicator pads)
- Protective gear (respirator, safety glasses, gloves)
- Disposal of old finish and debris
It’s also important to consider the time commitment involved in refinishing your floors. Depending on the size of your space and the condition of the existing finish, the process can take several days to a week or more to complete.
Benefits of Refinishing Hardwood Floors
Refinishing your hardwood floors offers a range of benefits that can enhance the overall look and value of your home:
- Restores Appearance: Sanding and refinishing can remove scratches, stains, and discoloration, restoring the natural beauty of your hardwood floors.
- Increases Home Value: Well-maintained hardwood floors are a highly desirable feature for homebuyers, and can significantly increase the value of your property.
- Extends Lifespan: Properly refinishing your floors can add years to their lifespan, allowing you to enjoy their timeless elegance for decades to come.
- Improves Indoor Air Quality: Refinishing your floors can remove old finishes and sealants, which can release harmful volatile organic compounds (VOCs) into the air. A fresh, new finish can improve the indoor air quality of your home.
- Customizes the Look: Refinishing gives you the opportunity to change the color or tone of your hardwood floors, allowing you to personalize the look and feel of your living space.
Conclusion
Refinishing your hardwood floors is a rewarding and transformative project that can breathe new life into your home. By following the steps outlined in this guide, you can achieve professional-quality results and enjoy the timeless beauty of your hardwood floors for years to come.
Remember, the key to a successful floor refinishing project is thorough preparation, attention to detail, and a commitment to safety. With the right tools, materials, and a little elbow grease, you can transform your hardwood floors and create a space that you’ll be proud to call home.
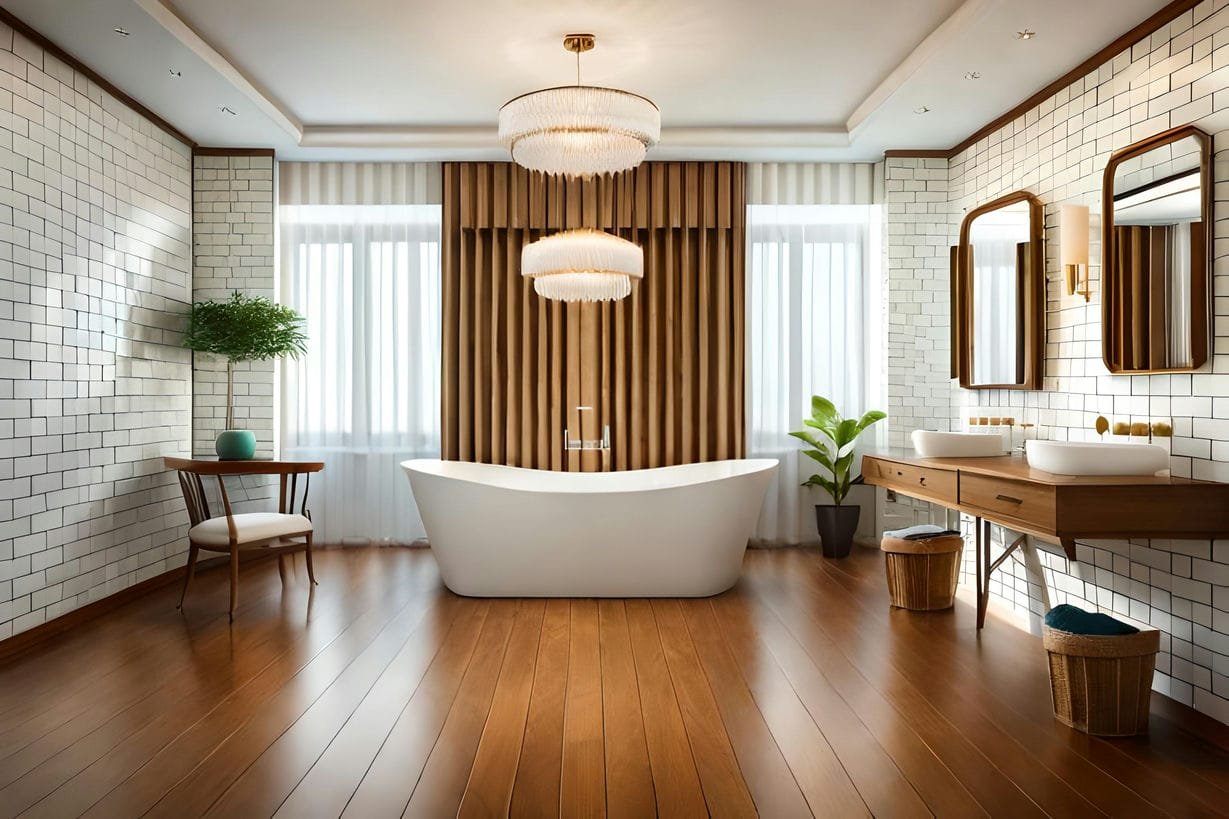
MKE Bathroom Remodeling in Milwaukee offers expert renovation services specializing in hardwood flooring, laminate flooring, and vinyl plank flooring. They provide a wide range of hardwood species, including oak, maple, cherry, walnut, bamboo, and cork, catering to various interior aesthetics and functional needs. Their eco-friendly options like cork, bamboo, and recycled hardwood offer sustainable choices. With a focus on quality, they offer free consultations, and warranties, and strive to complete projects efficiently.