Cutting laminate countertops can be an intimidating task, especially if you’re new to DIY projects. However, with the right tools, techniques, and a bit of patience, you can achieve a smooth, professional finish. Whether you’re resizing a countertop for a new bathroom layout or making adjustments for appliances, understanding how to properly cut laminate is essential.
In this guide, we’ll delve into each step of the process to ensure your project is successful.
Table of Contents
What is Laminate Countertops
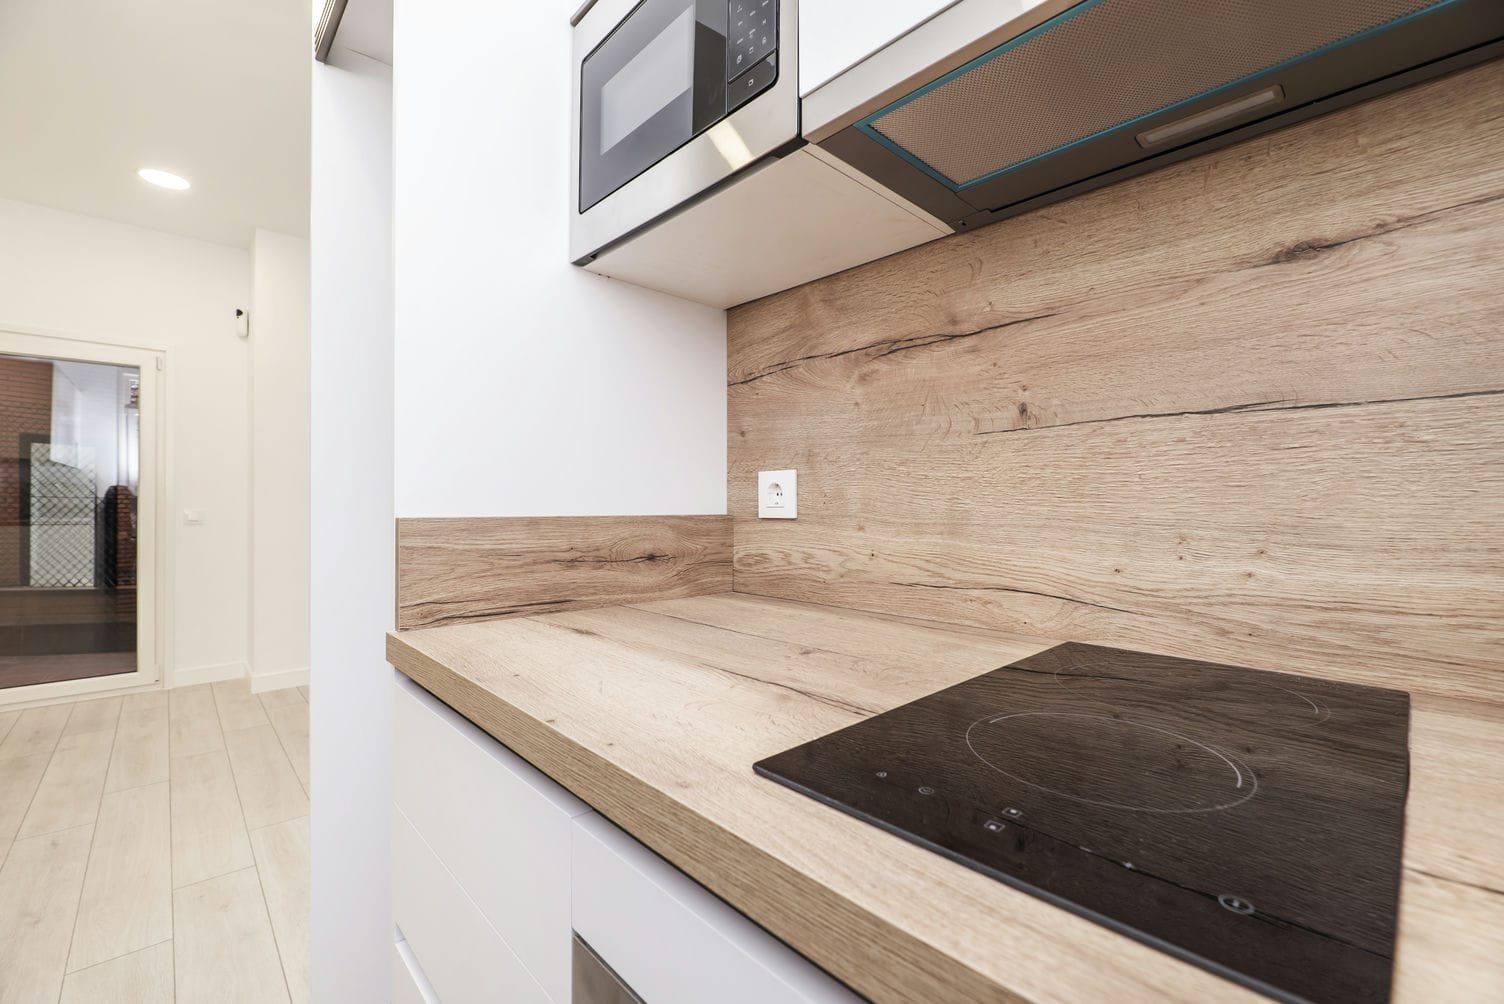
Laminate countertops are popular due to their durability, variety of designs, and affordability. They consist of a dense particle board or MDF core, covered by a plastic laminate layer that mimics the appearance of materials like wood or stone.
The laminate layer is thin yet tough, providing a durable surface that resists stains and scratches. However, this laminate layer can also be prone to chipping during cutting, making precision essential.
Necessary Tools and Materials
Proper tools and materials are crucial for a successful cut. Here’s a detailed look at what you need:
- Measuring Tape: Precise measurements are the foundation of a good cut. An accurate measuring tape will ensure you have the correct dimensions.
- Pencil: A simple pencil is ideal for marking the cut line on the countertop. Make sure the lines are clear and visible.
- Circular Saw: A mainstay in any toolbox, a circular saw is perfect for making straight cuts. Ensure it’s in good working order.
- Jigsaw: When you need to cut curves or complex shapes, a jigsaw becomes invaluable. It allows for greater maneuverability.
- Fine-toothed Saw Blade: A blade with fine teeth will make cleaner cuts and reduce chipping. It’s an investment worth making.
- Masking Tape: A layer of masking tape over your cut line can significantly reduce chipping.
- Safety Goggles and Dust Mask: Safety should never be overlooked. These will protect your eyes and lungs from dust and debris.
- Clamps: To hold the countertop firmly in place while you cut, use sturdy clamps.
- Straight Edge or Guide: This is crucial for achieving perfectly straight cuts, especially important for long sections.
Step-by-Step Guide to Cutting Laminate Countertops
Measuring and Marking
Begin by ensuring your measurements are exact. A small mistake in measuring can lead to a wasted countertop. Once you have your measurements:
- Double-Check Measurements: Re-measure to confirm.
- Marking the Countertop: Use your pencil to draw the cut line. Be sure the line is straight and visible.
Preparing for the Cut
This stage is about preventing movement and reducing chipping:
- Secure with Masking Tape: Place tape along the cut line. This will help hold the laminate in place and minimize chipping.
- Clamping the Countertop: Use your clamps to firmly anchor the countertop to your work surface. Ensure it’s stable to avoid any shifting during cutting.
Choosing the Right Saw and Blade
The correct tools make all the difference:
- Circular Saw: Ideal for most cuts in laminate. It’s straightforward and efficient.
- Jigsaw: For any cuts that aren’t straight, like sink cutouts, a jigsaw is your tool.
- Selecting a Blade: The blade should have fine teeth for a smoother cut. A coarse blade will increase the likelihood of chipping.
The Cutting Process
Cutting requires focus and precision:
- Straight Cuts: Follow your marked line with the saw, using a guide for straightness. Keep the saw steady and avoid forcing it.
- Curved Cuts: For cuts not straight, like for sink installations, the jigsaw will be necessary. Drill a pilot hole if needed to start the cut.
Tips for Reducing Chipping
Chipping is a common concern when cutting laminate:
- Right Blade: A high-tooth-count blade makes a world of difference.
- Cut Direction: Sometimes, cutting from the backside of the countertop can minimize visible chipping.
- Speed: Don’t rush. A steady hand will produce a cleaner cut.
- Masking Tape: It’s an old trick, but it works. It supports the laminate surface and reduces splintering.
Selecting the Best Blade for Laminate Countertops
The blade choice is pivotal in getting clean cuts:
- Blade Material: Carbide-tipped blades are durable and maintain sharpness longer.
- Tooth Count: A higher tooth count equals finer cuts.
- Saw Compatibility: Make sure the blade fits your saw and is designed for cutting laminate.
Cutting a Sheet of Laminate
Cutting a separate sheet of laminate follows a similar process but demands extra care:
- Measure and Mark with Precision: As with countertops, accuracy in measuring and marking is key.
- Clamping Down: Secure the sheet firmly.
- Straight Edge Guide: A guide is even more critical here for a straight cut.
- Gentle Cutting: The thin nature of the laminate sheet means it can chip and crack more easily. Take your time.
Need Help? Work with Milwaukee Bathroom Remodeling
Milwaukee Bathroom Remodeling is a trusted name for transforming your outdated bathroom into a luxurious, modern space. Our team of skilled professionals specializes in delivering high-quality, customized solutions that meet your unique needs and style. We use the best materials and tools to ensure a flawless finish, from cutting laminate countertops to installing laminate flooring. Contact us today to schedule a consultation and bring your dream bathroom to life!
Conclusion
Cutting laminate countertops doesn’t have to be daunting. With the right preparation, tools, and technique, you can achieve clean, precise cuts. Remember that patience and attention to detail are your allies in this task.
Safety is paramount, so always wear protective gear and work in a well-ventilated area. Whether you’re a DIY enthusiast or a professional, mastering these skills will greatly enhance the quality of your bathroom projects.