Hardwood floors can instantly elevate the look and feel of any room, adding warmth, character, and timeless beauty to your home. However, the installation process can seem daunting, especially for first-time DIYers. Fear not! With the right tools, preparation, and a bit of elbow grease, you can achieve professional-looking results.
In this guide, we’ll walk you through the step-by-step process of installing hardwood floors, from prepping the subfloor to the final touches. Get ready to transform your space and create a stunning, long-lasting floor that will be the envy of your neighbors.
Table of Contents
Preparing the Subfloor
The foundation of your new hardwood floor is the subfloor, so it’s crucial to ensure it’s in good condition before you begin. Start by removing any existing flooring, such as carpet, vinyl, or laminate. This will give you a clean slate to work with.
Next, inspect the subfloor for any unevenness or debris. If you’re working with a concrete subfloor, use a self-leveling compound to smooth out any cracks or uneven areas. For a wooden subfloor, ensure the plywood or OSB is in good condition and securely fastened to the floor joists.
Remember: A level, clean subfloor is essential for a successful hardwood floor installation.
Acclimating the Hardwood
Before you can start laying the boards, you’ll need to acclimate the hardwood to the room’s temperature and humidity levels. This process helps the wood adjust to its new environment, preventing potential issues like warping or gapping down the line.
Typically, you’ll need to allow the hardwood to acclimate for 3-5 days, depending on the manufacturer’s recommendations. During this time, lay the boards out in the room where they’ll be installed, ensuring they’re not stacked or wrapped in plastic.
Laying the First Row
Now it’s time to start the installation process. Begin by determining the best layout for your room, taking into account the longest, straightest wall. This will be your starting point.
Tip: For a more visually appealing look, try to stagger the end joints of the boards by at least 6 inches.
Depending on the type of hardwood you’re using, you’ll either be nailing or gluing the boards in place. For a nail-down installation, start by face-nailing the first row of boards along the wall, ensuring they’re perfectly straight. For subsequent rows, use a flooring nailer to secure the boards through the tongue.
If you’re going with a glue-down installation, spread the adhesive with a trowel and carefully lay the first row, using a rubber mallet to tap the boards into place. This method works best for concrete subfloor.
Read more: How to Refinish Hardwood Floors: A Step-by-Step Guide
Completing the Installation
As you continue laying the hardwood, be sure to maintain a consistent expansion gap of around 3/4 inch along the perimeter of the room. This will allow the wood to expand and contract naturally without causing damage.
For nail-down installations, continue using the flooring nailer to secure the boards, making sure to stagger the end joints. For glue-down installations, use the rubber mallet to tap the boards into the adhesive, ensuring a tight fit.
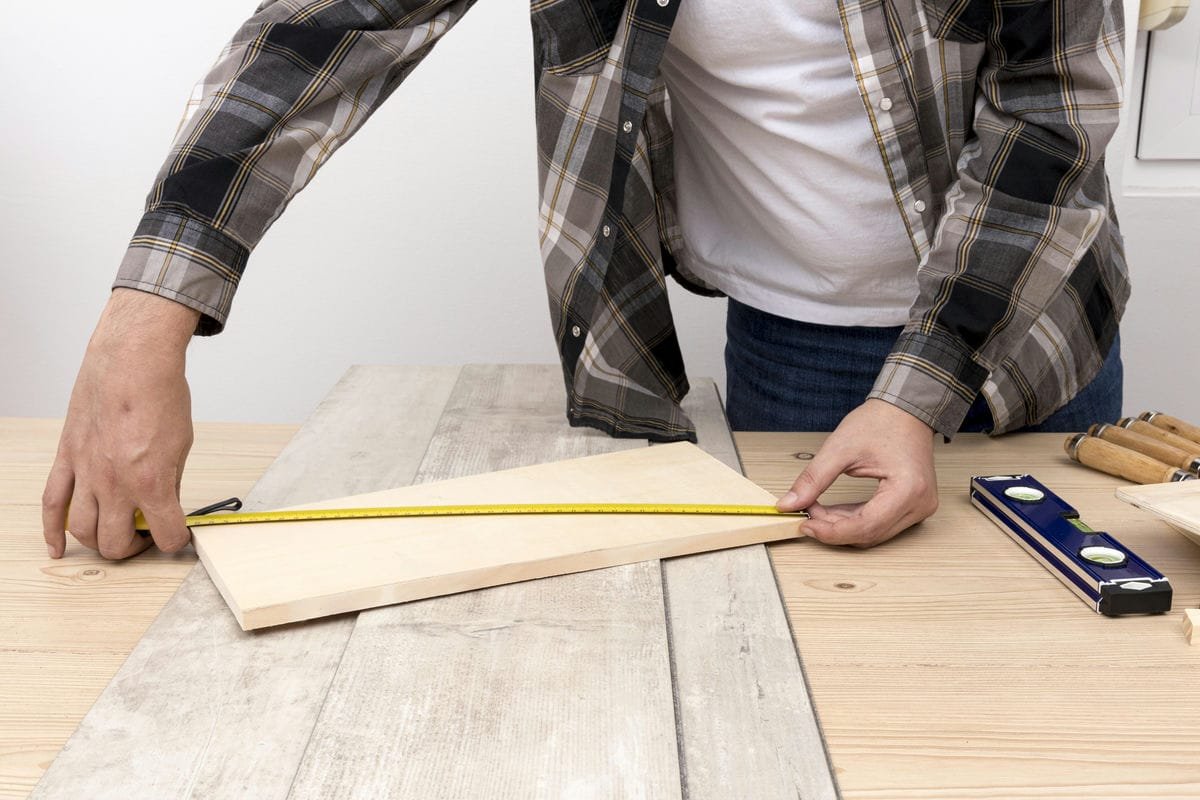
Tip: When cutting boards to fit around obstacles or at the edges of the room, use a jamb saw or oscillating multi-tool to ensure a clean, precise cut.
Finishing Touches
Once the main floor is installed, it’s time to add the finishing touches. Install any necessary transition pieces, such as T-moldings or reducers, to create a seamless transition between the hardwood and other flooring types.
Next, attach the baseboards and shoe molding to the walls, covering the expansion gap and creating a polished, professional look.
Remember: Always follow the manufacturer’s instructions for the specific hardwood flooring you’re using, as installation methods may vary.
Tools and Safety Gear
To ensure a successful hardwood floor installation, you’ll need the following tools:
| Tool | Purpose |
|---|---|
| Flooring nailer or stapler | Secures the boards in place for nail-down installations |
| Trowel | Spreads the adhesive for glue-down installations |
| Jamb saw or oscillating multi-tool | Cuts boards to fit around obstacles and edges |
| Rubber mallet | Taps the boards into place for a tight fit |
| Chalk line | Helps maintain straight, even rows |
| Tape measure, pencil, and square | Measure and mark the boards for cutting |
In addition to the necessary tools, be sure to wear the appropriate safety gear, including:
- Gloves
- Knee pads
- Eye protection
- Dust mask or respirator
Troubleshooting Common Issues
Even with the best preparation and attention to detail, you may encounter a few challenges during the installation process. Here are some common issues and how to address them:
- Uneven Subfloor: If the subfloor is not level, use a self-leveling compound to smooth out any high or low spots.
- Gapping Between Boards: Ensure the boards are properly acclimated and that you’re maintaining the recommended expansion gap. Adjust the spacing as needed.
- Squeaky Floors: Check that the subfloor is securely fastened and that the hardwood boards are properly secured to the subfloor.
- Cupping or Warping: Verify that the boards were properly acclimated and that the room’s humidity levels are within the manufacturer’s recommended range.
Conclusion
Installing hardwood floors may seem like a daunting task, but with the right preparation, tools, and attention to detail, you can achieve professional-looking results. Remember to take your time, follow the manufacturer’s instructions, and don’t be afraid to ask for help if you encounter any challenges along the way.
By investing in high-quality hardwood and following the steps outlined in this guide, you’ll be rewarded with a beautiful, long-lasting floor that will enhance the beauty and value of your home for years to come.
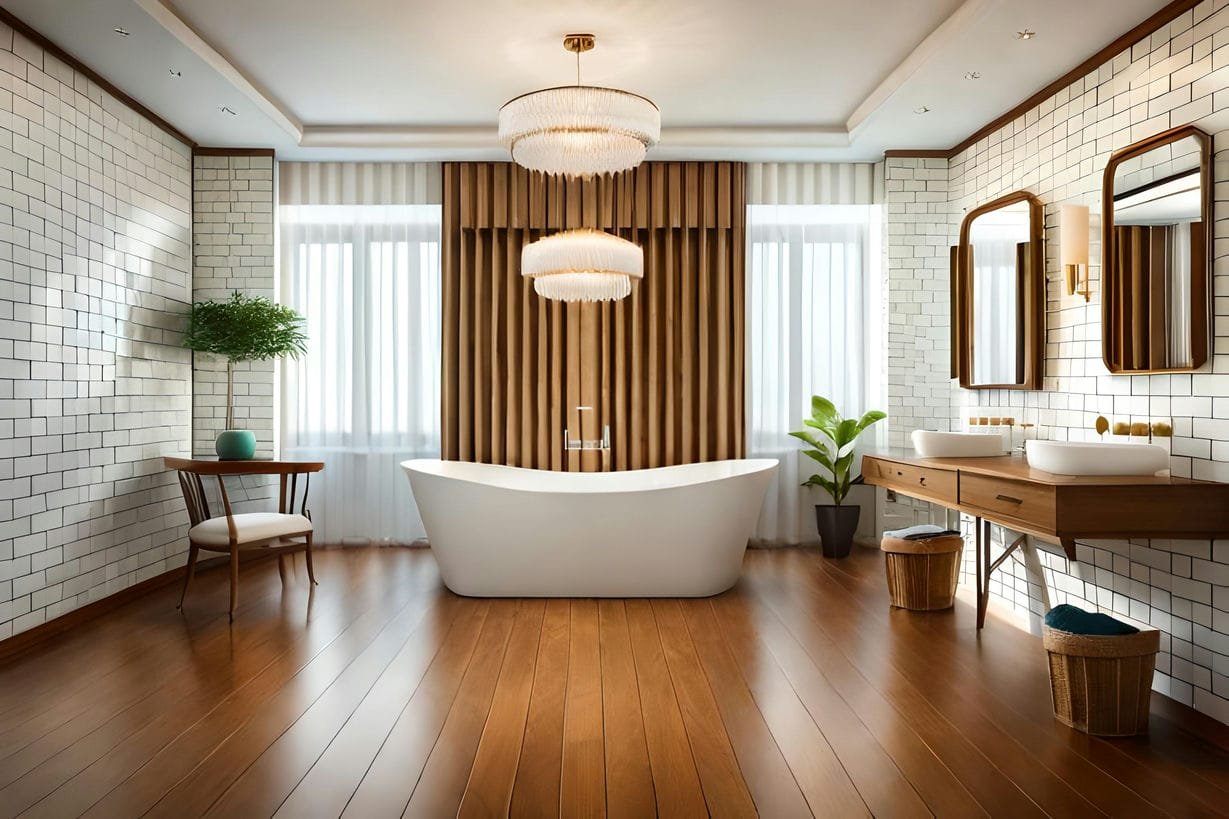
MKE Bathroom Remodeling is a family-owned and operated company that has been transforming bathrooms in Milwaukee for decades. They offer a comprehensive design-build approach, ensuring your project is managed from start to finish. Their team of professionals is known for their attention to detail, excellent communication, and high-quality workmanship in hardwood flooring installation and bathroom remodeling. MKE Bathroom Remodeling specializes in creating functional, beautiful, and safe bathroom spaces tailored to your needs.